- Type in the location in which you are ‘scanning’.
- Click in the ‘Barcode Scan’ box to put the cursor in that box.
- Scan many instruments. No need to touch the keyboard! If you’d like to refresh the list of ‘Instruments that have not been scanned’, click the purple ‘refresh’ button
 . Alternatively, you can click the ‘Scan’ checkbox if you’d prefer to ‘click’ the instruments instead of scanning them.
- For example, type Closet, and scan all instruments in the closet
- Then, type Stage, and scan all instruments on the stage
- Then, type lockers, and scan all instruments in the lockers
💡 If you don’t have a barcode scanner, you can simply click the ‘scan’ button beside the instrument in the chart.
- If you scroll down the page, you will see a list of all instruments in your inventory and their most recent location.
It is useful to make sure you have all of your instruments at the close of a school year. This feature will allow you to scan each instrument with a barcode scanner, and enter the location of the instrument – if needed by your administrator and/or auditors over the summer
Additional Options on this page #
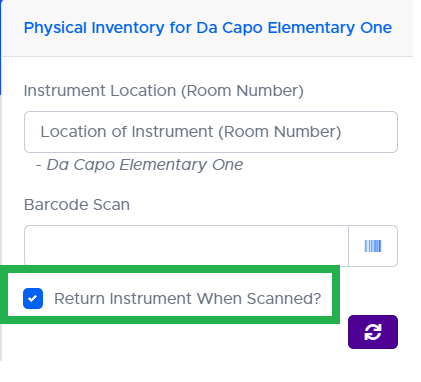
- You can choose to mark an instrument returned when you scan it. Check the “Return Instrument When Scanned” before scanning (or clicking the checkbox).
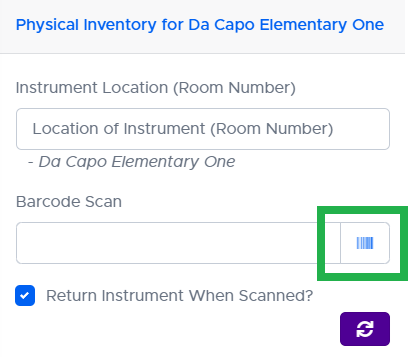
- You can also choose to use your phone as the barcode scanner by clicking the blue barcode icon beside the scan box. You may have to give permission to use your Camera when clicking the blue barcode icon button on your cell phone or iPad.