
Download the Excel File Template from the Uniform Import page of DaCapoInventory.com
Do not change the order of the columns in the Template. Do not delete row 1 or 2 of the template. Your data will begin on Row 3.
- Either type in your inventory assets by hand, or copy them over from any other data source that you might have.
- District Bar Code Number (Required)
- Uniform Item Name (Required) – Please see the list of currently recognized uniform items below.
- Style (Optional)
- Item Number (Optional) – This can be the barcode number, but it doesn’t have to be. If you call your Jackets J1, J2, J3, you can type those ID numbers here.
- Color (Optional)
- Size (Optional)
- Date Purchased (9/1/2017 – OR Year Only – 2017)
- Replacement Cost
- Condition (Optional) (New, Excellent, Good, Fair, Poor, Obsolete)
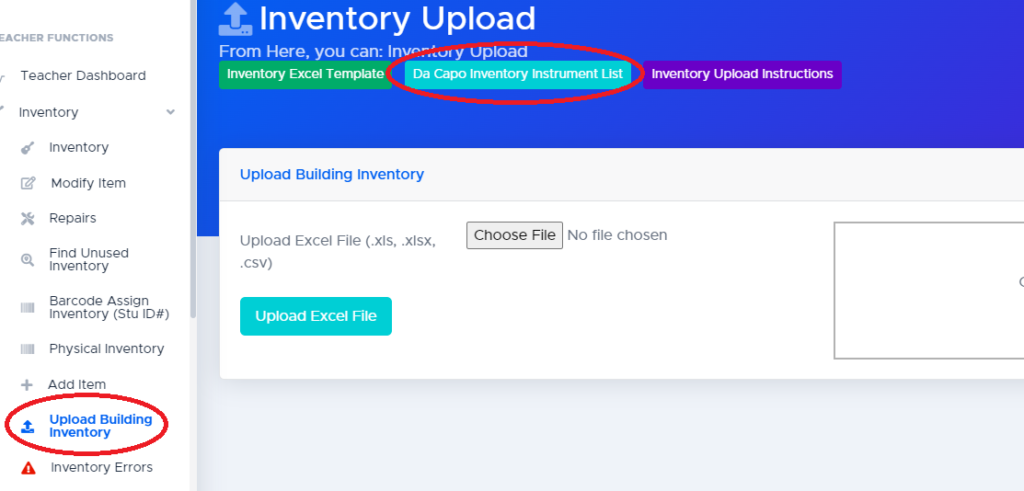
- Navigate to the Upload Uniform screen in Da Capo Inventory
- Select ‘Choose File’ and choose the Excel file that you have been compiling. Click ‘Upload Excel File’. You will be shown a preview of a couple of columns of inventory data. If this data looks correct, click the ‘Step 2’ button to proceed to Step 2.
- If there are no apparent errors, please choose a Building from the list of buildings and click the “Import Uniforms to Da Capo” button. If there are any errors after this step, please read them carefully, as some inventory items may have to be manually added.
- You may now view and manage your uniforms through the various functions in Da Capo Inventory!
For a list of “Currently Recognized Uniform Items” in Da Capo Inventory: #
- Click the Inventory menu on the left
- Click “Upload District Inventory”
- Click near the top of the page.
- If you would like any instruments to be added to Da Capo Inventory, please click the Blue Button on that page to request an addition.